Wet Felting Equipment And Tools

For felting you only need a few materials and tools. Most of the helpful items can be found around your house. There are no true right or wrong tools for felting. Whatever seems appropriate and will help you get the job done is allowed. I have seen some pretty impressive improvisations and inventions during my years of felting!
But with all the imagination: some tools can be quick, useful and helpful in easing your work, even if they don’t necessary speed things up.
I’ve included links to the different tools I mention in the is article at the end of the post, as a sort of “shopping list” – for easy browsing!
Your Workspace
Felting is so much more fun in a functional and beautiful workplace!
If you are just beginning, a sink with ripple shelf or a water-resistant table is sufficient for smaller workpieces. Wood tables or countertops can be protected with a plastic or wax table cloth. You will also want to protect any carpet or wood flooring, incase your water drips.In
In order to prevent the water from flowing on to your floor and making a big puddle (not that this has EVER happened to me…) it helps to roll us some sold towels and place them on the edge of your counter or table, creating a soak-able damn.
Anyone who “invents” another technique to prevent the water from dripping should make sure that the water can drain in one place and does not collect on the table.
But please remember, water should always be used sparingly when felting – and should never flood! Read more about why in my past post The Process of Felting.
Ideal is a laundry room with a washing table or even working outdoors (my favorite!).
You need a supply of hot water (approx. 140°F/60°C) close by, so either a water boiler or stove/fire will be necessary.
Material and Tools
Soap
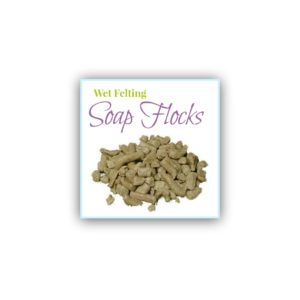
You can use liquid dish washer soap, soap bars or soap flakes.
Dish soap is good for making 3D stuff like balls since it is dissolved in the water and you use the soapy water to work with. Although, many people complain that dish detergent makes their hands dry and cracky.
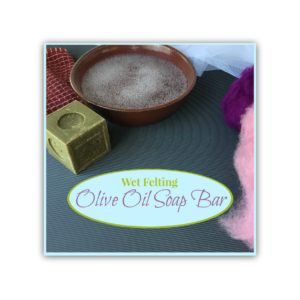
Olive oil soap is a better option if you tend to have dry skin and is also for allergy sufferers and skin-sensitive felters.

Like I said in my last post The Process of Felting, several felters I know prefer dissolving soap flakes (available in our shop) in hot water, making a soapy solution instead of working with a bar of soap.
If you are like me, and prefer the bar of soap to rub your hands on when needed, to better control the amount of soap used during the wet felting process, then you might want to look at our 300g bar of soap (also sold in our shop), made by the same company. This is also helpful when fulling large flat pieces, then you can rub it on to your netting or wool directly.
Soap is a product of either animal or vegetable fats such as palm, coconut or soybean oil. These are mixed with potassium (for lubricating soap) or sodium hydroxide (for core soap). Pure soap is biodegradable.
Water
It is also important to know what kind of water you have. Soft water will cause your soap to sud a lot. Where as if your water is harder, you won’t get as much sud. Sud isn’t necessarily a bad thing, especially if working with kids – then it’s a lot more fun! But it does get kinda messy and annoying, and you have to use a lot of fresh water to remove all the soap at the end.
If your water is too hard, so-called lime soap is produced in addition to the soap you are using and can cause unsightly discoloration on the edges of your felt. If this is your case, then try adding a water softener. The companies Ecover or Awalan offer enviromentally friendly options and are available online and in some natural stores.
Vinegar
It is very important to remove all the soap from your wool! How you ask? With good ol’ vinegar.
In order to properly remove all the soap from your work piece, dip it into vinegar water. Just add a shot of vinegar to your last rinse. You can find vinegar in pretty much any grocery or drug store.
Bowl / Large Bucket

If not working over sink, then you will need some sort of container to hold your warm water. Preferably large enough to fit both of your hands comfortably.
When I give felting classes, and several people are working together I like to have a large pot of soapy water set on low on the stove to keep it warm.
If working by myself, I just use a hot water boiler and any kitchen bowl to save energy and time.
Outside I like to have a big bucket full of water for rinsing and cleaning.
Sprinkler
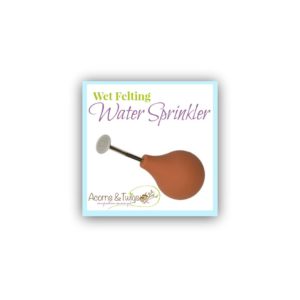
In order to keep your wool moist, you will need to sprinkle it with new water every once in a while. Either a small watering can with a fine shower, or a plastic bottle with holes in the lid will work.
Some people also use a sponge – this is handy when needing to soak up some excess water on your work place.
When I first got started felting I just used my hands and cupped them full of water (sometimes really hot water – ouch) and drizzled the water over my work. Not the best practice, but do able – and cheap.

I’ve graduated to this much better option of our sprinkler bulbs, made extra for the purpose of wet felting.
A traditional method of wetting wool is sprinkling with a straw or twig broom (“rice straw”). The broom is dipped into the soapy water and tapped over the wool.
Friction Mat
To help speed up the process you’ll want to have some sort of friction base.
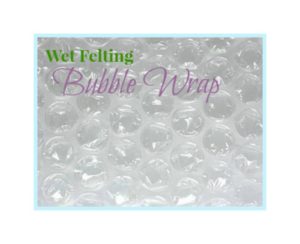
I think the most popular underlayment for wet felting is bubble wrap. It is probably your cheapest option. I save mine every time I order something online and it is used as packing material. If you don’t have enough at hand, or not the right size, we also sell bubble wrap in our store in two different widths, sold by the foot.
Although you can reuse bubble wrap, it is kinda a pain to clean and dry to avoid mildew and soap residue.
You can also use an old wash board or if your sink has one, the rippled drying rack next to the sink.
A (new/clean) rubber car foot mat (smaller projects) or even a trunk mat (for larger projects) are also great options to a) protect your table b) add extra friction c) retain warmth.

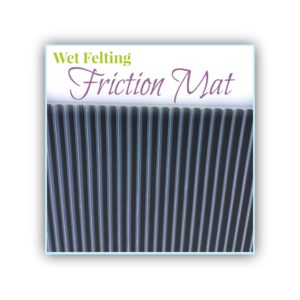
We also offer this mat in our store. I like it cause I can roll it up and put it away in my felting tools drawer, or take it with me to felting classes. It is also helpful if rolling your object to full it, which you can’t do with the foot mat from a car. The object can not slip as easily as on bubble wrap and the cavities between the lines catch excess water so that the workplace remains somewhat dry. With a second mat the felted object can also be flipped easily.
Bubble Wrap
Bubble wrap is not only an underlay option, it can also be used to lightly pre felt any motifs or patterns with out shifting the wool, messing up your design.
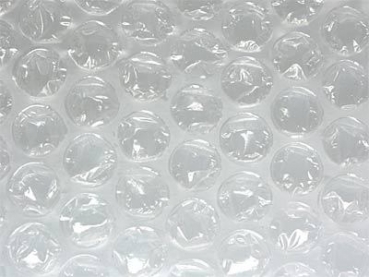
In order to do that, you need to make sure the bubble side is laid down onto the laid out wool design. Then add a bit of soapy water to the flat side (side facing up) of the bubble wrap to help your hands glide easily on the plastic.
Bubble wrap is also an important tool for cutting out patterns for hollow objects – for example hats or shoes or bags. It is used as an in-lay to make a hollow object, and will be cut or slipped out before the fulling stage. The bubbles help the wool fuse from the inside as well, and prevent the layers from felting on to each other, making a hollow space.
Depending on the size of the object, different tools can be used for roll fulling:
Terry Towel:
Small surfaces, but also hollow bodies such as hats or shoes, can be rolled into a bathroom towel after the felting stage.
If possible, the object should be placed completely in the towel and should not protrude beyond the outer edges. This also applies to all other rolling tool types.
Bamboo Roll / Bast Mat:
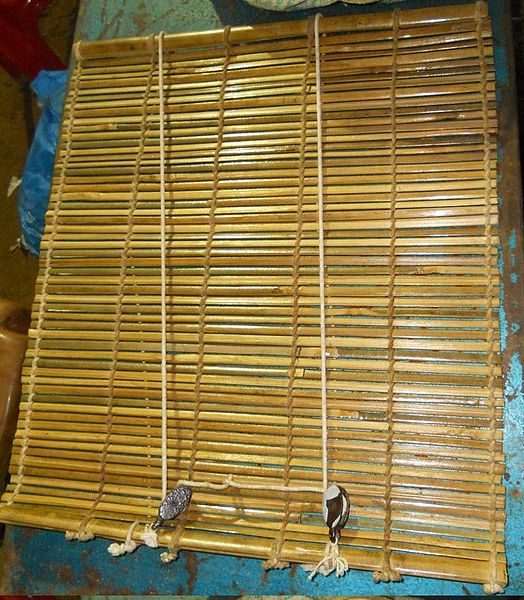
Depending on the size of the object and preference of the felter, surfaces can also be sushi bamboo mat for smaller pieces, or placed in a bamboo roller blind (found as a window shade in furniture stores) or a bast mat (with a cotton-covered quilting mat) for larger pieces.
Their rough surfaces support the felting process amazingly.
If using a bamboo blind, remember to cut out any metal pieces. They kinda resemble traditional Mongolian grass mats. You can achieve very uniformed and fine results with these.
Bast mats fulfill a similar purpose but are not very long-lasting.
They can also be used as an underlay.
Sheet:
If the size of your project is too large for a bamboo window shade (for example, a carpet), then the felt can be rolled into an old sheet.
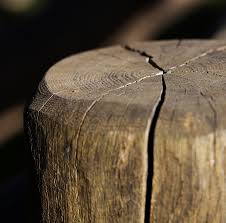
However, you will need something hard like a wooden stake or iron pipe as a core.
Core:
Like I just said, if you are felting something large, and need a sheet for rolling, then you have to add a wooden stake or iron pipe as your core.
If if you are rolling with a bamboo mat, a stake or pipe can be used.
A lot of people like to combine bubble wrap or towels and swim noodles – things most of us have at home already.
The advantage of a heavy iron pipe (diameter at least five centimeters) is that the rolling back and forth is easier, and the pressure of the pipe helps the felting process.
The thicker and the larger the carpet is, the stronger the chosen core must be. That way the different layers of wool don’t shift as much.
A fixed core also ensures that the work piece is not pushed together, but rather is pressed flat, and will shrink more evenly, but not as quickly. This is recommended for especially thickly laid out patterns.
You can buy wooden stakes in different thicknesses in your local garden centers, and iron pipes in hardware stores.
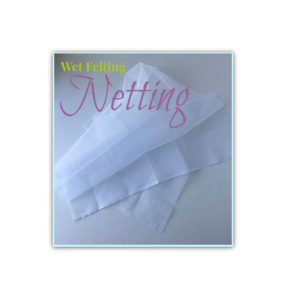
Synthetic Netting
Synthetic netting (offered in our store) is used to cover your fibers during the wet felting process and serves as a barrier between your hands and the wool. This will help to fixate your beautifully laid out wool layers when wetting and agitating your fibers.
The netting allows water and soap through to the fibers and prevents the wool from shifting and messing up your design.
Wooden Felting Tools
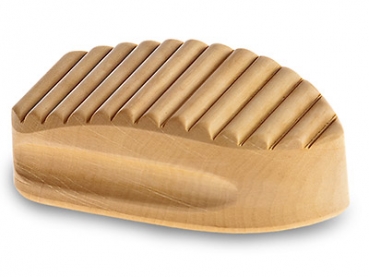 Also a niffty tool, easily found on Etsy. There are several forms and shapes and sizes out there.
It speeds up the fulling process, and can even eliminate the need to roll.
Forms
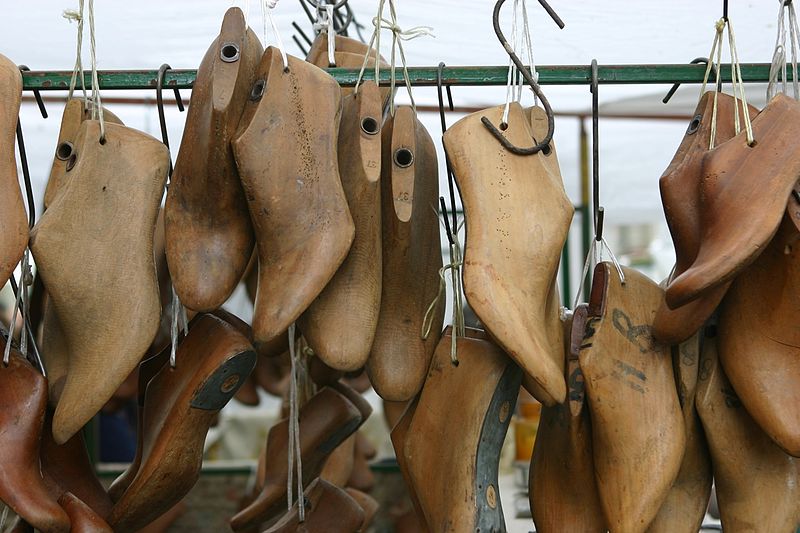
If you are felting a hat or shoes, there are some great forms available to help you shrink the felt to the proper size and form for perfect fitting.
So, that pretty much sums up the tools out there for wet felting, as far as my knowledge goes.
Some tools are necessary, but I do not own them all. The absolute beginner will want to have towels, soap, water, a bowl and of course WOOL! The rest are just to help speed things up, make felting easier, more comfortable and FUN!
Did I answer all of your questions? Did I miss anything you would like to share? What tools do you have and love to wet felt with?? Let’s hear all about them in the comments below!
Shopping List
About the Author Jenn
Hi! I'm Jenn! I'm an ambitious, creative and natural mama of four awesome kids: Amy (born in 2010), Blake (2011), Cody (2013), Lulu (2014) - yeah my husband and I took a year off in 2012 - go ahead, call us lazy :) My husband Gerhard, our four kids and I live in America’s heartland on a small, in-town acreage in Iowa – but that is pretty new. We are still grounding after an international move from Germany. This is not an understatement, an international move is WAY different than a normal move, but that is a whole different story! I am here to share our love, knowledge and experiences of waldorf in the home including holistic toys, crafts and food. My goal is also to share helpful tips on natural parenting and healthy play.
